Tuesday, March 11, 2014

Fuselage & Finish kits inventory complete


Finally!  It took an amazingly long time to get through the finish and fuselage kits.  The biggest issue was counting all of the little pieces in all of the little bags.  I had 3 shortages from the finish kit but none from the fuselage kit.  I decided to put all of the pieces back into the crate and will use the crate as a building surface for the fuselage. I brought 2 empty shelve units from the basement to put all of the fuselage pieces.  All of the small pieces are placed into baggies with a sticky note inside for ID. All of the baggies are then sorted into groups and those are in separate bins.

IMG 0187 2

 Finish Kit contents

Thursday, February 27, 2014

18-06 RIGHT, completion of flaperon

This was a fun day.  Just worked and worked and worked and had a great time.  It felt very good to get a lot accomplished and have a finished product to show for it.

IMG 2954

Actuator of R aileron

IMG 2955

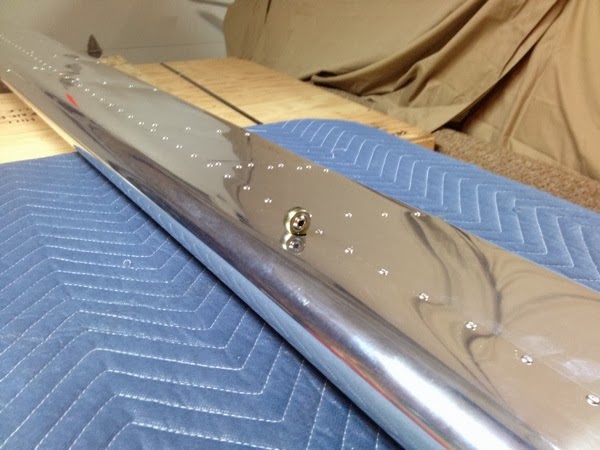
Close up of support bearing

IMG 2956

Finished Aileron.


Note the straps on the large crate.  I was kind of excited to get into that crate and take a look at the finish & fuselage kits.

18-04 RIGHT, bracket attachments

Time to do some catch-up documentation.  I’m writing this on 3/14, but have dated the postings to the days that I took the pictures (completed the indicated steps.)  As such, the textual description may be a tad sparse.


IMG 2950

Right Pivot Bracket

IMG 2951

Right Actuation Bracket

This looks like it’s crooked, but that’s just the sloping edge of the bracket.  

18-05 RIGHT, Internal ribs & counterweight

well, I didn’t take a picture of this one.  Sorry ‘bout that.

18-06 LEFT, completion of flaperon

No muss, no fuss.  Just some repetitive and satisfying riveting and assembly work.

IMG 0176 2Left Flaperon with skins attached

IMG 0177 2

Close up of flaperon with pivot bearing

18-05 LEFT, internal ribs & counterweight

The internal ribs are attached, as is the counterweight.  I did have a small bit of trouble with the initial test fit of the leading edge skin, as the counterweight protruded about 1/16” to 1/8” or so.  I cheated by pushing it inward (bending the flange on the nose ribs) prior to match drilling the nose ribs to the leading edge.

IMG 0175 2Left flaperon skeleton, awaiting skins 

Wednesday, February 26, 2014

Fuselage & Finish kits arrive!

Not much to write about, but wow!, where am I going to put all that stuff?

IMG 0174 2

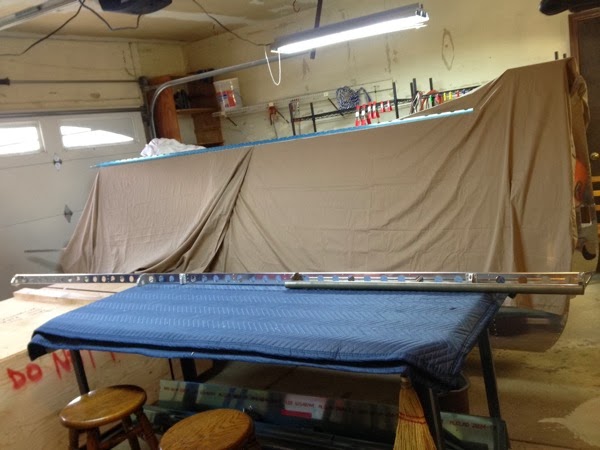
Fuselage & Finish Kits


I’m guessing that the lower longer box is the fuselage.  To its left, you can see the scrap leading edge of the wing  Behind it are cloth draped tailcone and wings.  Over to the right is a much taller crate, presumably the finish kit with the bubble canopy and fuel tank.  My plan is to finish up the flaperons (one of which is visible above the finish crate) before opening these guys and doing the inventory.