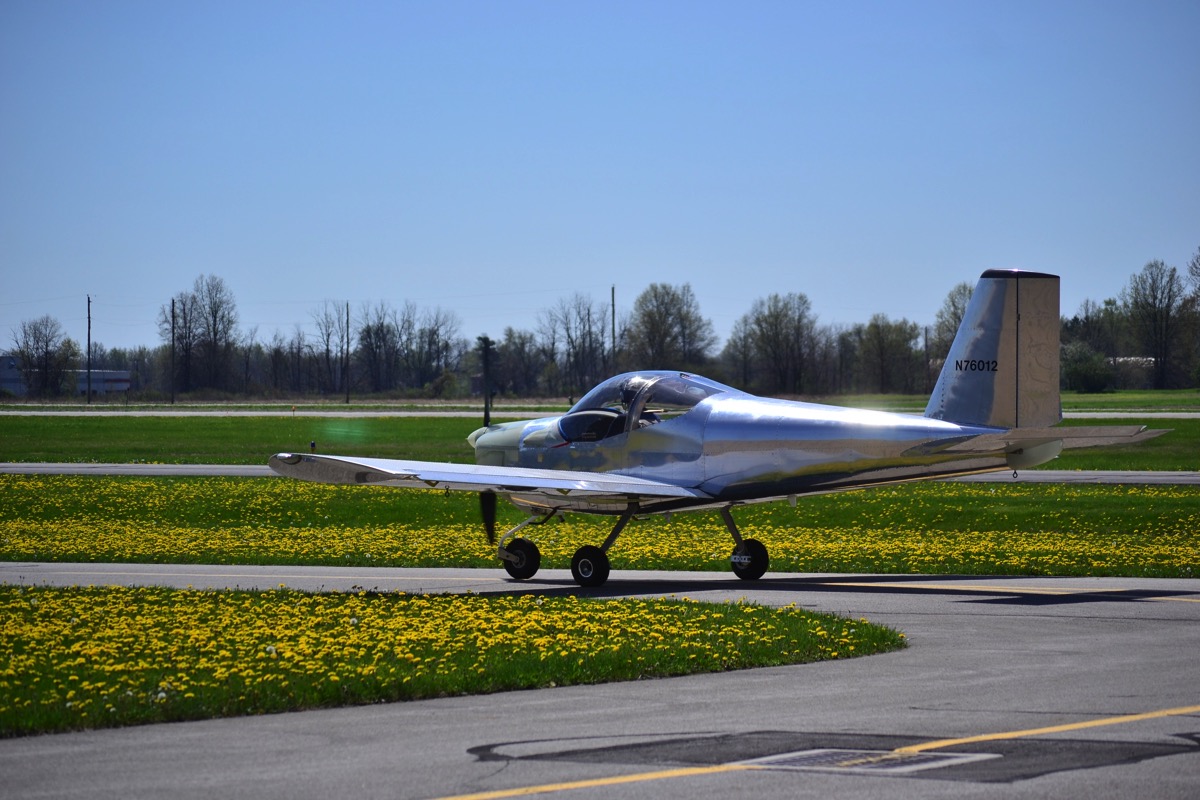
Thursday, June 30, 2016

Improvements

I pulled up the seat pan and tweaked the pilot’s roll push rod by 1 full turn to straighten up the stick.  Later flight test showed that to work very well.  

Looked at the pitch servo while I was under there and confirmed that there was good power to the servo with the appropriate switches on the panel.  Damn.  That was the easy fix I had been looking for. I pulled the servo and took a closer look, not really knowing what to look for.  Upon closer inspection, I realized that I had had a major brain malfunction when I did the wiring for the plug to the servo. Only the ground and power were in the proper position.  I’m amazed that I didn’t kill anything.  I pulled the wires, ordered replacement sockets and installed them a few days later.  On power up, I had the Dynon go through the system discovery routine and this time the pitch servo was recognized!

I turned off the autopilot and will not try it again until I pull the back panel and check out the pitch servo.  Since I wired them both on the same day, I’m pretty sure I messed that one up, too.

There were some problems installing the updated system software.  I couldn’t get the Dynon to recognize the package from Van’s.  Dynon tech support suggested a freshly reformatted memory stick and their distribution instead of Van’s distribution.  Uploaded just fine, so I’m now flying behind system 14.2.1.

My previous observations with bizarre winds aloft and inaccurate synthetic vision have a poorly calibrated magnetic heading as a common input.  I elected to not debug that any further until the system upgrade was done.  Having accomplished the upgrade, I did one more ground compass calibration and then an air confirmation calibration.   The installation manual wants to see a “quality” figure of at least 70, my unit reported Quality 120.  After that, winds aloft and synthetic vision are now much more believable and accurate, respectively. 

On June 30 (date of this post) I did 4 touch & goes at Marion (runways 31, 25, 13, 07. Great fun!) High approach DLZ 28 and overhead break with 360 to landing. Getting better at anticipating float and touching down nearer to desired spot. 

Saturday, June 25, 2016

gradually pushing out the envelope

This blog kind of died over the last few months. Looking back, I realize that I wrote about each page in my assembly instructions, since each page represented a clear goal.  Now that I’m flying, I have lost that clear framework, so I’m doing something a bit different.  From here forward, I’ll use the blog to document flights and maintenance on the plane.  I’ll spend a few entries getting synched with my personal log book and the aircraft logbook.  I’ll use the blog as my electronic backup to the formal ships log books (airframe, engine & prop.)


IMG 5148

Panoramic view of Ohio, 3500'


Attempted time-to-climb to 10K but had to abort due to high oil temps. Power off stall series; 3 each with no, half and full flaps. Sharp break to the right in all cases. Break speeds in high 30's, mid 30's and low 30's respectively. Good buffet and warning tones prior to breaks. Attempted power on stall, gave up with deck angle > 25 ° and heavy buffeting.

Noted that I was near Port Bucyrus, did some practice landings, including 2 on soft field. Returned to Delaware. Still noting apparant erroneous magnetic heading data, resulting in bizarre winds aloft depictions and mismatch between actual heading and synthetic vision displayed heading. Also had another episode of fuel level suddenly dropping to low (zero) values before eventually returning to normal. 

While at Port Bucyrus, I landed on grass strip 09, turned & departed 27. Landed 27, turned & departed 09. Both sides of grass strip notable for having homes & trees off end of runways, thus needed to make slightly high approach and drop in. This gives long float before touching down.  I had the throttle full back and the engine died during the rollout on one landing.

Thursday, June 2, 2016

36-02 started wheel pants

I’ve been out of town for a few days, but was able get a quick flight in yesterday (in between two really heavy rain showers w/ occasional thunder & lighting.  I really like being able to see the weather and be able to make a quick, but safe, flight to confirm that the avionics really are confused about the heading vs. track.  I’ll have to re-calibarate the compass as my next step.)


IMG 5133

fitted wheel pants

Alas, I didn’t read far enough ahead.  I dutifully fit the halves together, only to discover that the next step is to trim about 1/4” off of each front.  Lots more sanding to do!

Sunday, May 22, 2016

early flights

Did I ever mention that it’s very inconvenient living 40 min away from the airport?  It is.  It greatly limits the amount of time I can spend taking care of the plane.

I’ve made a total of 4 flights.  Mostly just getting a feel how it handles (very well), but I’m still too distracted to do the formal fight maneuvers called out by Van’s.  Don’t worry, i’ll get it done, just not immediately.  I had planned on doing the ‘timed climb to 10,000 ft’ but got distracted trying to get flight following and I was blowing through 4500’ before I realized it.  I abandoned the “timed climb” and just enjoyed making it up to 10,000’ in about 8 mins, still briskly climbing at better that 550 fpm.

The squawk list (so far) is pretty short:

  • pilot’s stick is too far left
  • autopilot servos not recognized by Skyview
  • winds aloft calculations very inaccurate
  • pitot system leaks (probably affects winds aloft)
  • weeping from front of fuel tank when > 15 gal

I still have some things to do (not squawks)

  • install Angle of Attack probe
  • install wheel pants
  • install weather stripping

and some things I might do

  • glare shield
  • stabilator tips

and one thing that needs to be done

  • get plane painted in August or September


talk to you soon.

Monday, April 25, 2016

First Flight!

Today was the day!  (well, yesterday.)

After much wringing of hands and double checking and running inspection checklists, I finally committed to actually flying.  I had a support & photography staff of 3: best friend Dale and his wife, Carol, and Dave R, whom I met when he started his own RV-12.   (My wife wanted to know about the flight after the fact.)

Overall, the flight went almost exactly as planned, and with no unexpected findings or upsets.   I made one more high speed taxi test, actually on runway 28.  I used full throttle for the first time to verify that full torque did not produce unmanageable behavior.  Taxied back to 28 (and then back-taxi to reach the actual departure end, since there’s construction in progress) then took off with 0° flaps.    Climb was positive and smooth, at well over 700 fps at about 75-80 kts.   Airspeed and groundspeed agreed as expected, but quickly diverged at altitude, with a much stronger than expected wind from the south. (I’m not sure if that’s real or an artifact of a poorly calibrated airspeed.  The wind vector was pretty constant as I circled (15-18 from South), so it might have been real, but it’s still something to keep an eye on.)

I initially thought I had a heavy left wing, but it was actually very very well balanced in roll.  I think the stick is a touch left-of-center when the plane is straight and level.  If so, that shouldn’t be too hard to correct when I do the 1st inspection that calls for removing the seat pan to get at the linkages down there.

The over-the-nose visibility is excellent, even compared to the Cardinal (which has pretty good visibility of its own.) As a result, I had a tendency to hold too much nose up and I climbed well above my initial intention (quite arbitrary) of 4000’ and eventually ended up at 6000’.   Turning response was smooth in both left & right.  The electronic ‘ball’ was relatively insensitive, but quite usable.  This was the 3rd time (1st two were in DG’s RV-12) that I was flying behind all glass, and I could tell that it would be some time before it was 2nd nature.  Luckily, this is a plane that is all about keeping your eyes out of the cockpit and looking out side and flying by the seat of your pants.

Descent to pattern altitude was unremarkable from an airframe perspective, but I did note the infamous throttle creeping behavior associated with the springs in the carburetors.  Even with the friction lock fully tightened, the throttle can easily be turned using the vernier mechanism.  I think that the vernier ‘creeps’ due to the engine vibration and the springs.

I made a low pass over 28 and then executed a balked landing in order to get a feel for the pitch changes associated with that maneuver.  There weren’t any.  OK, now if I need to abort a landing, I’ll have done one before.  Set up for another circuit, and made one of the nicest landings I could ask for.  The idle stops are set a tad too high, and I couldn’t get less than 2500 RPM (1000 prop RPM) on approach, and that led to a long, long float before she touched down.  (I will have to set the idles back far enough that the engine probably won’t run on the main carbs when cold, but that’s exactly what the choke circuits are for.)

Taxied back to the hangar, got pats on the back from my friends, and buttoned up the hangar.  I didn’t write down any of the numbers on the flight card out of the Product Acceptance Procedure.  I’ll download the black-box data next week (next opportunity to get to the airport) and fill in as much as I can, and then do a very thorough post-flight inspection.


IMG 0007
ready to start


IMG 0015
taxiing out


IMG 0021
perfect day!


video, courtesy of Dave Rohrlick 


IMG 0025
RV Grin!

Saturday, April 23, 2016

the "Golden Spike"

(Well, it’s some aluminum plates to be honest, but you get the idea.)

There’s nothing left to do.  Fuel tank is fixed.  Engine is sync’ed. Cables are tight.  Paperwork is in order. Prop is pitched.  Tonight’s task was to put all of the loose pieces back on the plane to make it actually airworthy.  It took about 2 hours.  The lower cowling is ‘tight’ after the engine remove/re-install, but I got it back on without any cussing or drilling.  Upholstery went well in front and in the mid section, but I discovered that you can’t get the upper bulkhead cover back on without removing the fuel tank.  Not today!  I’ll leave all of the carpet out of the back for now.

The ‘blue flower’ you see below represent the last items to be installed to make the plane “complete”.  Yes, there are still things to do (wheel pants, AoA sensor, etc.), but these 5 access panel covers are the last items out of The Book that need to be installed.   It was with great pleasure I removed the final bits of blue plastic and went to work.


IMG 5041

the last pieces to install 


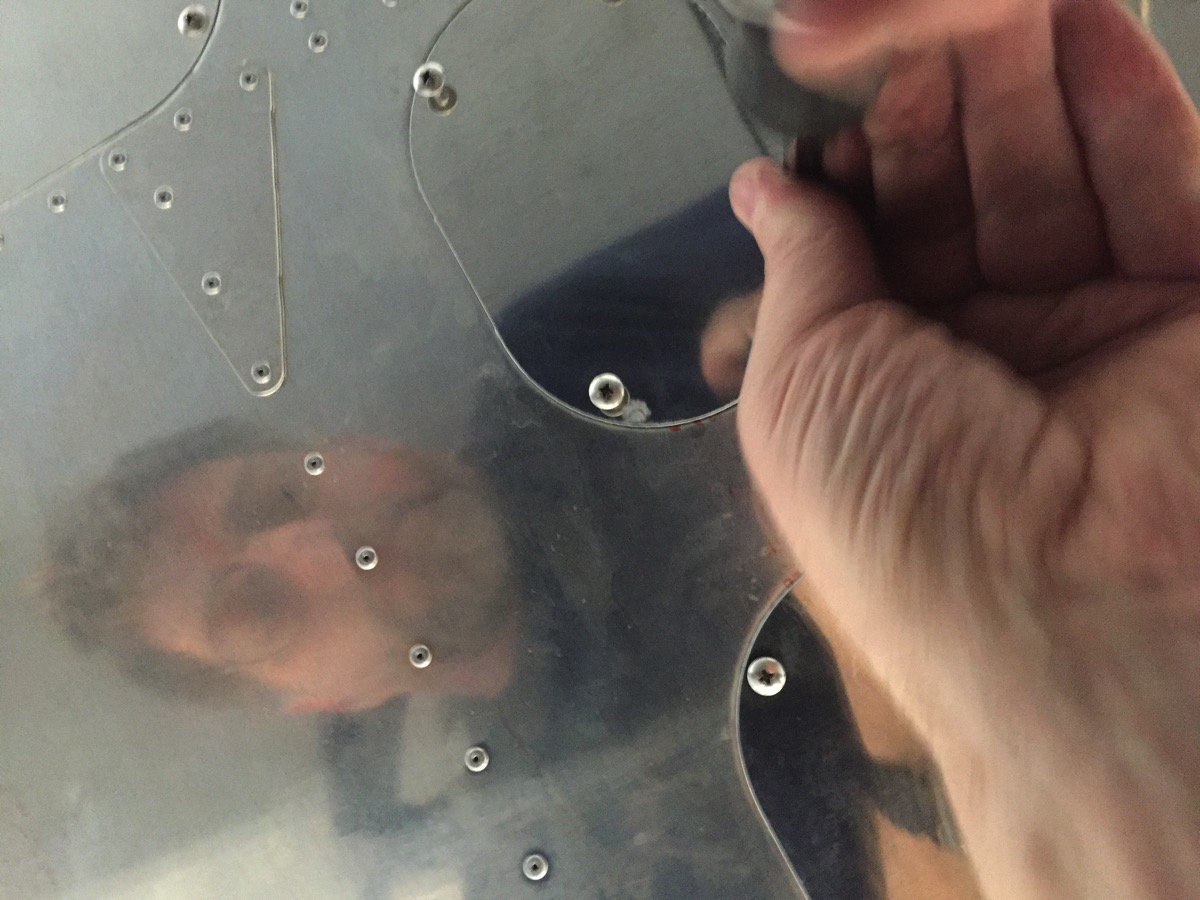
Here’s a selfie of me installing the last access plate.  (Phone is sitting on my chest, activated w 3 sec delay from my watch).

IMG 5042

 Installing the last part


IMG 5072

All done.  Only thing left to do is go fly.

Leaks sealed (i think)

I called Van’s the other day and went through my options.  They were happy to do warranty work, but I didn’t want to spend the time to ship the tank to them, wait for them to repair it, ship it back, etc.   Not to mention the shipping costs.  They did send me 3 oz of Pro Seal, which I used last Thursday.  I elected to remove the face plate, rather that drill out all of the rivets for the top again.  Although I did OK the first time, I’m very cautious about drilling rivets—there are always some that get oversized holes and that’s just an opportunity for even more leaks.   The front piece is screwed on and is designed for maintenance, so that’s the way I went in.

While I was on the phone with Van’s, I was asked about the serial number.  I said ‘none’, but when I was removing the face plate, I realized that there was a number engraved on the front:  “385B 13/09”.   I’ll have that ready for tech support if I need to call them again.

IMG 5034


It was a bit challenging to get to the back of the tank, but I got the majority of the old sealant out of the inside of the corner.  I do note that there are no scuff marks as called out by the assembly instructions.  That was addressed with a straight wire brush on a dremel extension.  Inside corner got gooped; face plate got gooped and tightened, then the outside corner was scraped, sanded and cooped.

I didn’t get nearly as much of a bead of sealant around the plate (compared to the factory seal) when I reattached it.  I’ll watch it carefully, as that’s all I can do.   The tank was cured for 36 hours at 85 °F (guest bathroom with a space heater).  During the meantime, I looked up the technical data sheet for the stuff and was greatly relieved to see that it’s officially ‘cured’ at 4 hours (although the testing is done after 14 days at 77 °F and 50 % RH.  Go fig.)

Tank was reinstalled (30 min), plane refueled with 8 gal.  No visible leaks.

Ready to roll....