Saturday, November 7, 2015

first taxi

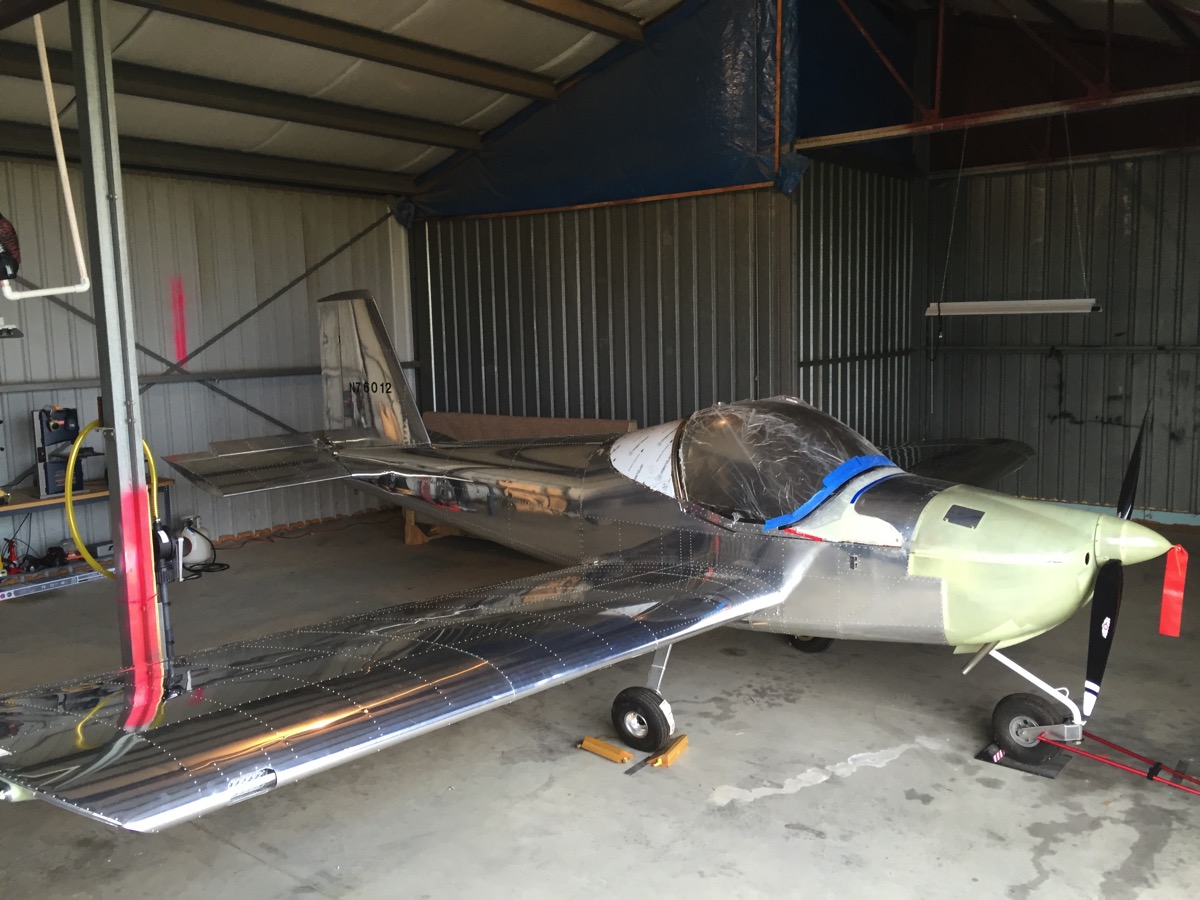
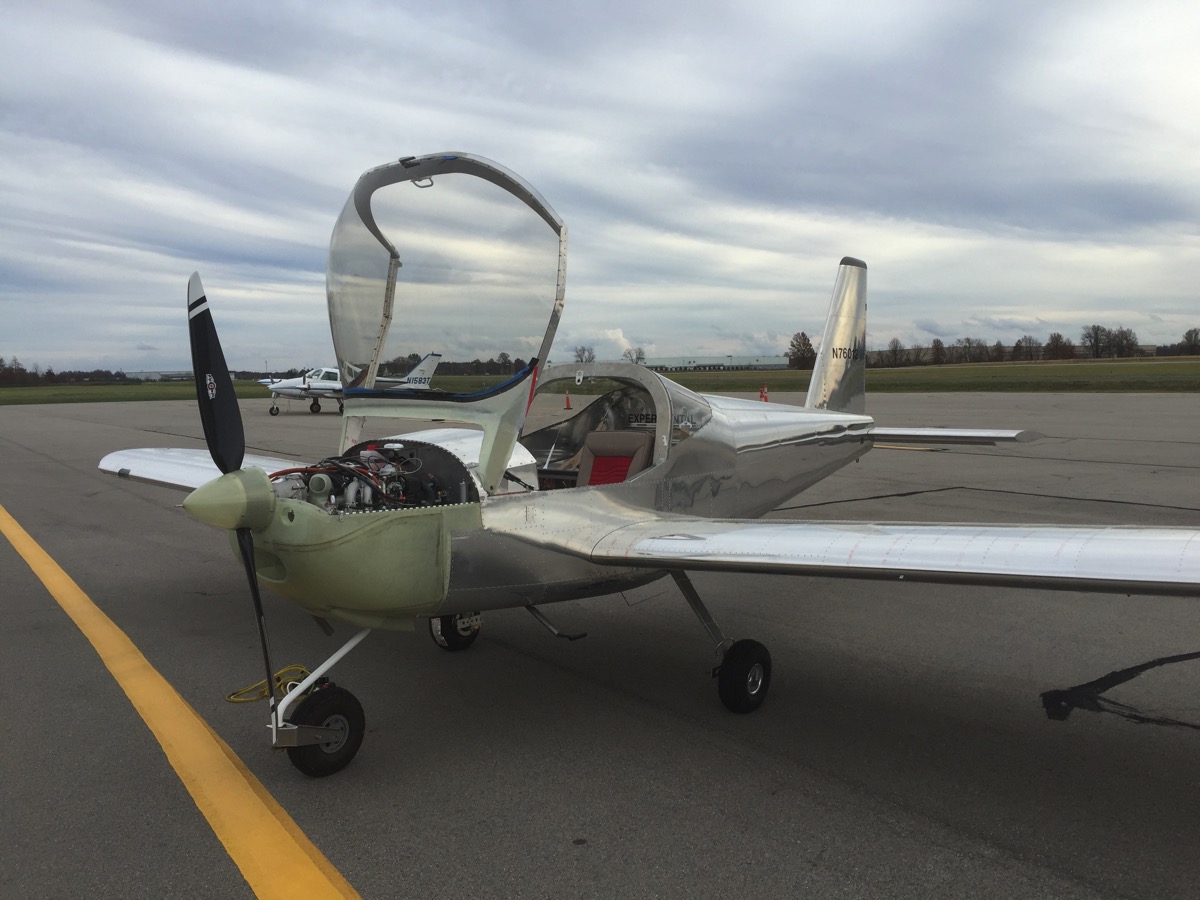
Bit by bit, it’s coming together.  The engine ran pretty rough last spring so today was planned to have the local A&P show how to do a carb sync.  I overslept (because I had to work night shift), got to the airport around 2:00 and got things ready to roll.  It took much longer than expected to get all of the protective plastic off of the canopy (I’m so proud of myself for letting it stay there until I actually needed it off today), get gas & fill 4 gallons in the tank, put the lower cowl on (because otherwise the oil radiator hangs against the muffler) and put on the spinner (to protect the pitot tube.)

I was able to start and discovered that it taxis quite well.  Differential steering isn’t too hard and I had no problems maneuvering around the taxi ways.  Shane (the A&P) agreed that the engine sounds quite rough, and we weren’t able to get it to run on the main carbs—it only runs when the chokes are on.  It was getting late (4:00) on a Friday afternoon; rather than open a can of worms, we elected to start afresh next Wednesday morning and debug the carbs.

Nonetheless, it was fun taxiing up and down the airport and enjoying my baby’s “first steps."
 

IMG 4739

Got there on her own power!

Monday, October 19, 2015

Airworthiness Certificate!

Today marks the official completion of the airplane, with the issuance of the Special Airworthiness Certificate.  The FSDO inspector is a very nice gentleman named John.   He spent about an hour going over the plane.  He took issue with some build techniques but deferred to the fact that they are called out by Van’s.  He found some rubbing wiring and oil hoses in the engine compartment, a loose bolt, a missing cotter pin and not much else.  Overall, he seemed quite comfortable with the way I’ve built N76012 and proceeded to issue the coveted Salmon Slip.  (I really don’t think it’s pink—do you?)


N76012 Airworthiness Certificate

Special Airworthiness Certificate


IMG 0023

traditional “here it is” photo


IMG 0006

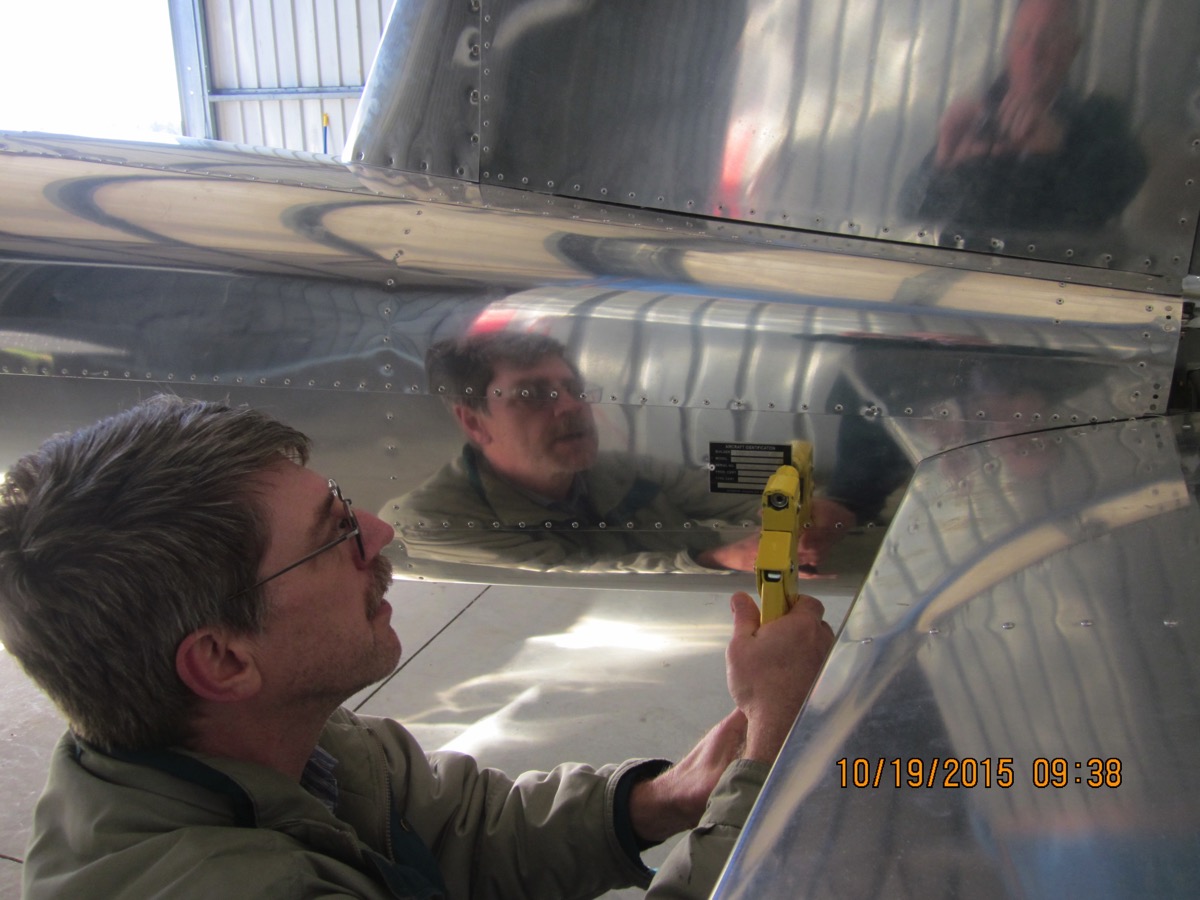
affixing data plate


I’m taking a break for a week while I have family members arrive from out of town.  Upon my return, I’ll address the squawk list (the biggest of which may be having to remove & reroute the oil lines.  Messy.), have Shane teach me how to properly sync the carbs, get someone from the local Van’s flying group to be my 2nd set of eyes and do the Product Acceptance Check, do ground runs and taxi runs, get an hour of dual in upset recovery in a local flight club’s LSA, get some time in a friend’s -12, coordinate with the EAA flight counselor and then go fly this thing!

Thursday, October 15, 2015

47-07 prop pitch revisited

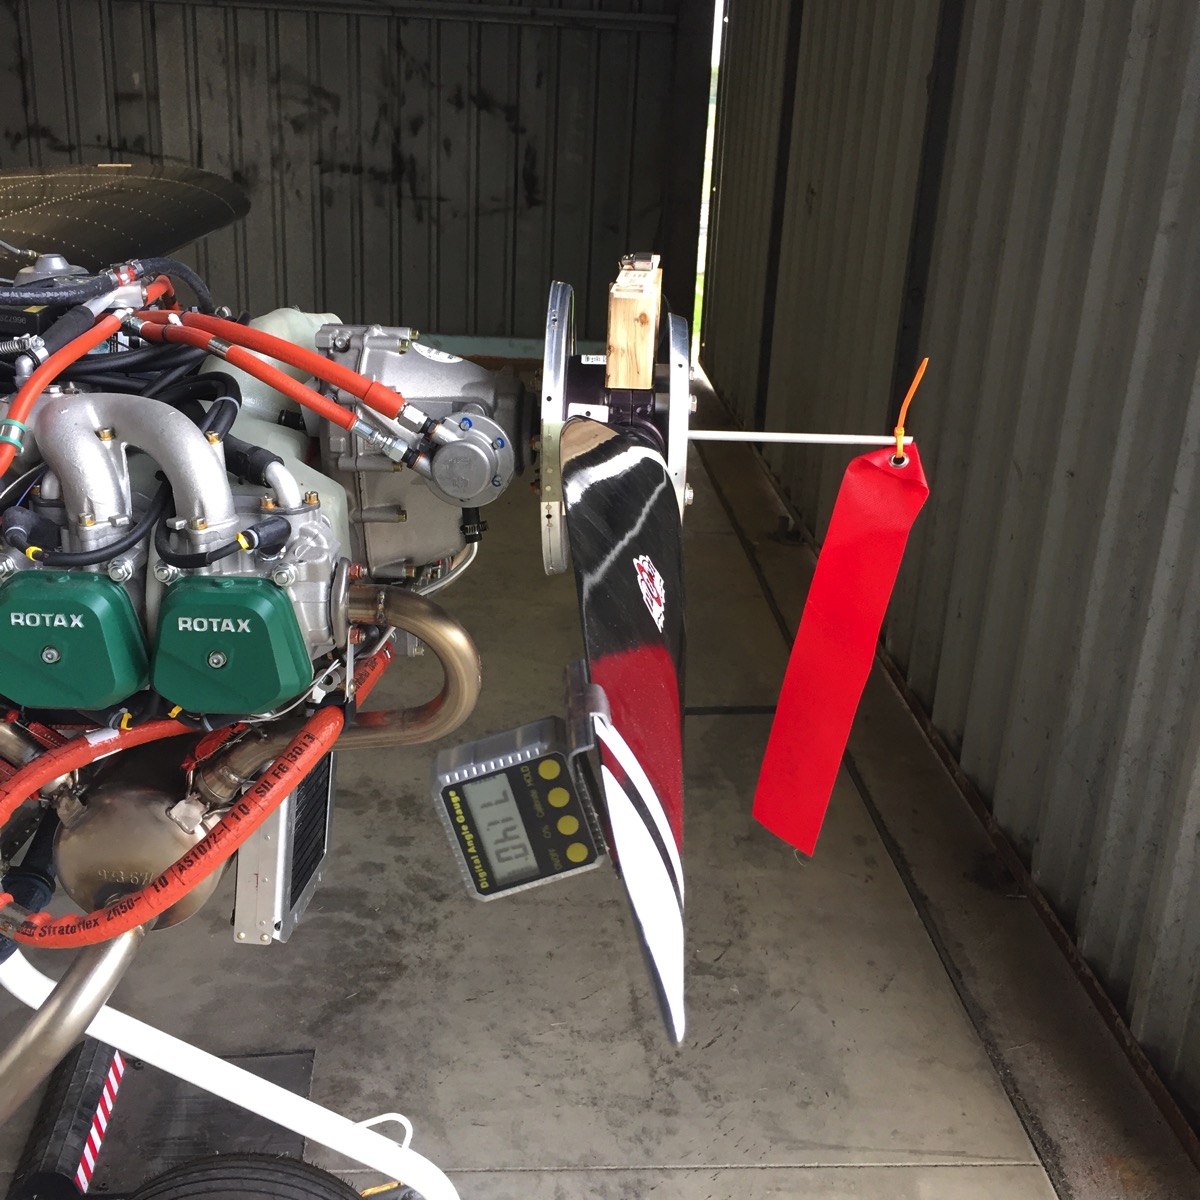
VAF has many posts regarding the setting of the pitch of the Sensenich prop.  The tool that is provided by Sensenich is really not very precise.  They provided a wooden template that is supposed to help create an accurate surface upon which to measure blade angle, but it’s also not too precise.  Last week, Van’s released an update to The Book that uses a steel tool to hang on the edge of the blade and allows a magnetic level to be used to set a specific angle (71.4°) relative to the canopy deck.  It’s very hard to see in this photo, but the prop is leveled using some wooden blocks (custom cut to an arbitrary but equal height), a paint stir stick, and a socket (from a socket set.)   I didn’t have a bubble level at the hanger and I realized that I really couldn’t use the digital level since it can be zeroed and thus does not have an absolute way to establish level.  I used the cylindrical socket on top of the stir stick:  when it didn’t tend to roll one way or the other, the prop blades were level!

With that task completed, I closed the shop and went to work.  Next step:  Airworthiness Inspection on 10/19!


IMG 4719

Prop blades pitched to 71.4°

Weight & Balance

Another significant milestone: the plane got weighed on the 13th.   It’s a bit heavier than the example plane in the W&B worksheet, but I elected to put into the basic empty weight items that I won’t be flying without: fire extinguisher, headphones and the interior carpeting.

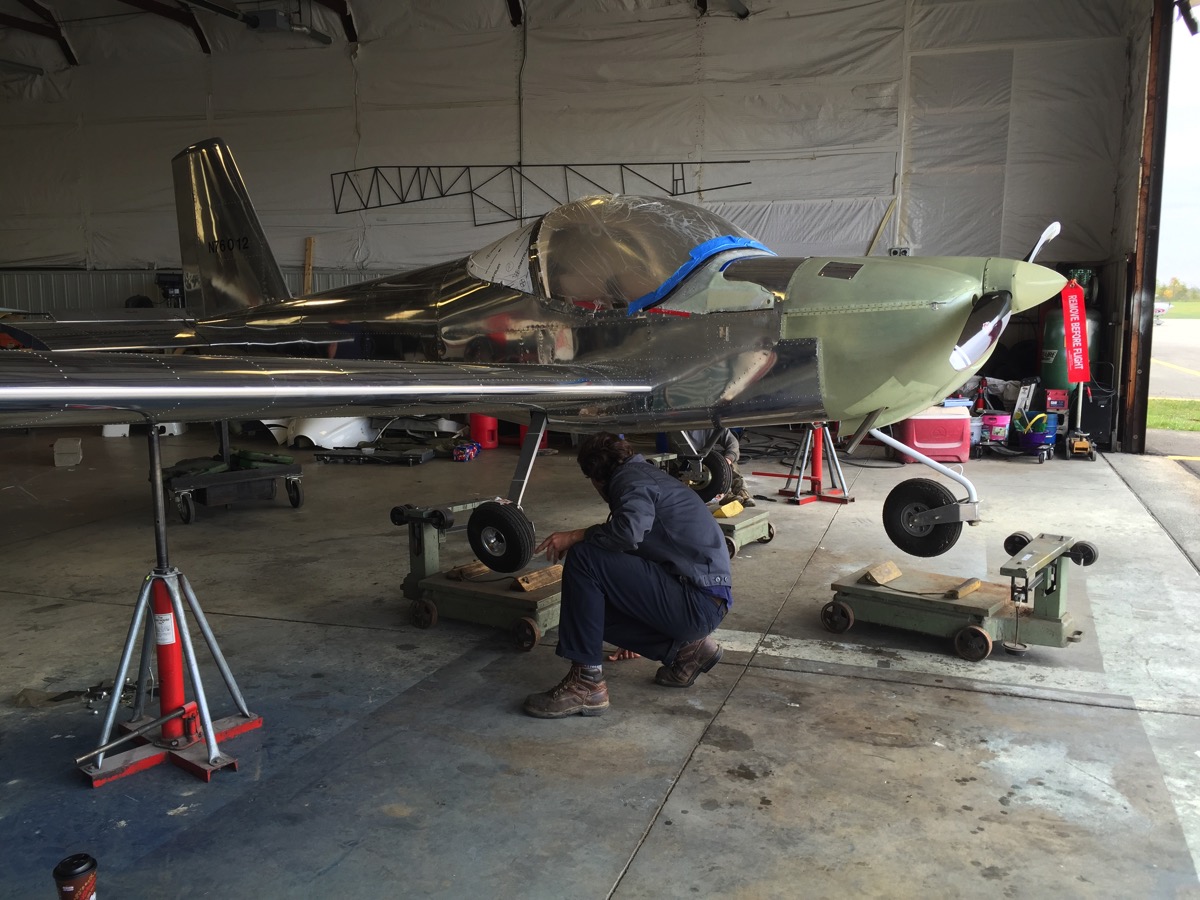
The wing tie downs got removed and replaced with studs that fit into jacks.  The tail was weighted down and the plane elevated above the height of the scales.  After setting on the scales, we deflated the nose tire (and had to squish it a bit) to level the plane in pitch.  Per The Book, the attitude was measured on the canopy rails.  We dropped a little bit of air from the left tire to level in roll.  A plumb bob was used to make a mark on the floor for the leading edge of the wing.  Lines were drawn on the floor at the axles of the wheels and then measurements were taken.  Finally, weights were taken from all three scales simultaneously.  The configuration was reversed and she got put back in the hanger.


IMG 4712

placing jacks


IMG 4713

Wheels up!


IMG 4714

setting onto scales


IMG 4716

level in pitch


IMG 4715

level in roll

Thursday, October 8, 2015

52-all, Placards

One of the last finishing details is the placement of the various placards that are part of the legal requirements for airworthiness.   


IMG 4698left panel


IMG 4699right panel 


IMG 4696fuel filler


IMG 4695

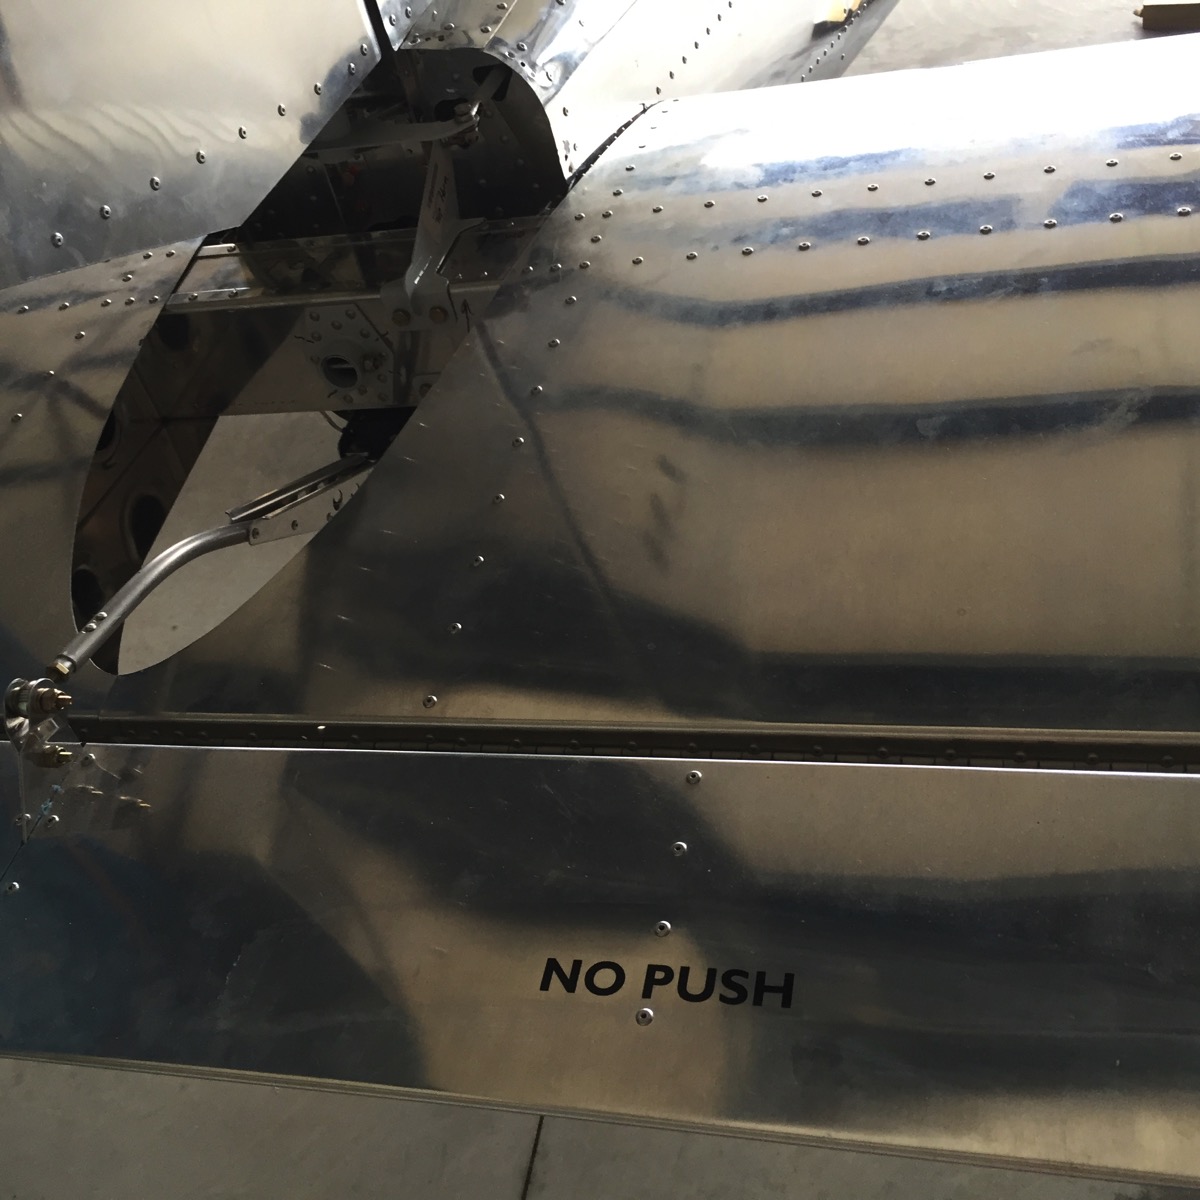
No Push 


boarding step

sigh.  One of the ‘trivial’ steps turned out to be somewhat less than trivial.  As near as I can reconstruct, I had not learned the trick of threading a bolt into the nut plate of a part that was to be match drilled during assembly.  The right step went on without a problem, but the left step simply wasn’t properly aligned internally to let the AN4 bolts reach the nut plates.  I spent about an hour or two hunched over with my head in the foot well using a dremel tool to open up the misaligned hole in the extruded aluminum angle that receives said nut plate.   


IMG 4689

the ‘easy’ boarding step

Thursday, October 1, 2015

assembled airplane

Yesterday was a really fun, satisfying day.  I had achieved the installation of the H. stab cables last week (just never had time to update the blog until today) and yesterday was the day to start the final-putting-things-together-for-real process.   Out of esthetics, I choose to start from the tail and work forward.  

The V. stab went on easily.  The rudder took some finesse in order to line up the various washers and hold the rudder and place the bolts and do all of that by myself.  I ended up putting the bottom bolt in first (fairly easy, since I could stand on the ground and have pretty good access) and duct taped the rudder to the stab on two sides: that actually kept it in pretty close position to allow me to find some creative ways of holding the bolt, a washer and a nut from an awkward angle.  Got it done.

Thence, to the inside.  Although I still can’t install the split bulkhead, I did take advantage of the split baggage floor and left the larger piece open for the inspection in a few weeks.  Fuel tank is physically installed (but not yet plumbed.)  Last year, I noted that the flapperons scrapped against the fuselage and I had made some notes of how much to trim, so they finally got sanded about 1/8” to 1/4” on the lower surfaces.  Nick & Lada came to the hanger (en route to the local firing range for some shooting) and they helped me put the wings on.  As predicted, the wings fit much better when the torque tubes are installed on the correct sides.)

Oh, and during the meantime, my partner in the Cardinal arrived back from a cross country with a couple of squawks.  Both planes needed air in the tires, so I pumped up 012 and took the compressor to the other hanger and filled those tires, too.  I reinstalled some corrupted software on the iPad, figured out that the Stratus2 wasn’t charged, put those back in the Cardinal, did a test flight around the pattern and filled up the plane as a favor to my partner (just the filling—he’s reimbursing me for the fuel costs!)  All in all, an excellent day being an airport bum!

 Tomorrow: plumbing the fuel tank, re-installing ELT, installing fire extinguisher and maybe doing placards! 

IMG 4683

Airplane in hanger